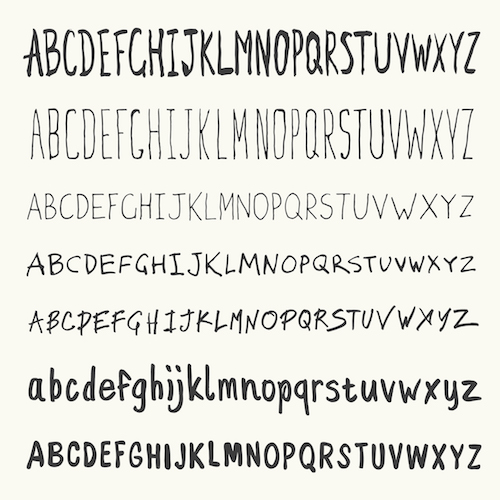
Ask yourself this question: what’s one consistent element of every outstanding and beautifully designed WordPress site you’ve ever seen? Most likely it’s—in a word—typography. Indeed, having the perfect fonts can mean so much to the readability of a site, and using typefaces that meld perfectly with other design elements can really make a huge impact on the user experience.

The problem many WordPress site owners find is that the theme they chose has an unfortunately limited set of types to work with. And this can create frustration, especially when a particular site needs just the right font to really pop. And consider this: web design experts even report that using custom fonts can increase conversion rates and time users spend visiting your site as well as decrease bounce rates.
Fortunately, there’s a fairly simple solution to the lack of typography choices found in out-of-the-box WordPress themes: you can add custom fonts using Typekit, a service from Adobe that gives users the ability to choose from a seemingly infinite variety of types and pick one that ideally suits the needs of their site as well their own personal aesthetic sensibilities.
To begin, it’s important to understand that Typekit is a subscription service, which means that you get access to hundreds of types for a flat rate, rather than the other option which requires paying for individual licenses for each font you want to utilize. And Typekit fonts are easy to add to your site, they won’t affect page load speeds and, because them come from Adobe’s own “content delivery network,” they load much quicker than if you were hosting them on your own site.
To begin, create a Typekit account by visiting typekit.com. First you’ll want to pick out the plan that’s right for you: there’s a free version and multiple paid levels that give you access to different numbers of fonts and font families. Once you’ve chosen a plan you’ll be able to create a “kit,” which lets you accumulate the distinct libraries of fonts for your website and ensures that the program only loads the files and codes needed to accommodate your choices. You simply add your site and domain name and then click “continue,” and then copy and paste a JavaScript code to your text editor when prompted.
Now you can start browsing different fonts via a filtering search engine (which allows you to seek out fonts by weight, height, classification etc.) and add what you want by clicking “Web Use: Add to Kit.” Then a quick click on “publish” and your kit is ready to use. At this point the easiest way to start using the fonts on your site is to install and activate the Typekit Fonts for WordPress plugin. After you’ve installed it visit “Settings, Typekit Fonts” and configure the program by pasting the aforementioned JavaScript code into the Typekit embed code field. Then you’ll be able to add CSS selectors to direct the program to the areas on your site where you want to use your new fonts.
That’s it! Now you can start designing—or redesigning—your site with all the new fonts available at your fingertips, creating a truly memorable website that will hopefully increase readership and repeat visits and make your pages stand out from crowd.


